Supplies Needed:
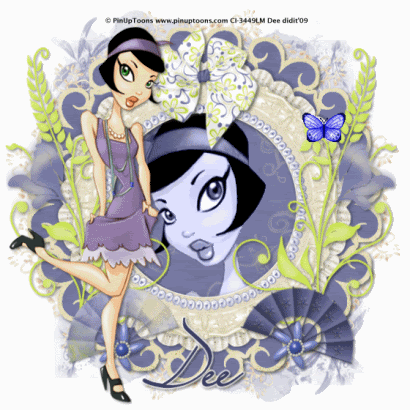
Tube of choice. I am using the wonderful artwork of PinUpToons. To use his work, you must purchase a license at CILM. Free Scrap Kit Feng Shui by Tantrum Scraps aka Amanda. Amanda has granted tutorial writers permission to include her beautiful kits in our supplies. Thank You. Her site is HERE. OtherworldFae Mask 2 by Sabre HERE. My supplies HERE.
Let's Get Started!
Open a new blank image 600X600 and floodfill with white.
Copy and paste paper 19 as a new layer.
Apply otherworldFaeSabremask2 to the paper layer. Layers-load/save mask/load mask from disc. Merge group.
Copy and paste the Feng shui lace as a new layer over your mask.
Copy and paste the feng shui frame as a new layer.
Click inside your frame with your magic wand. Selections-modify-expand by 7. Copy and paste a paper of choice from the kit as a new layer.
Selections-invert-hit delete on your keyboard. Bring this paper under your frame layer. Deselect.
Click once again in your frame and expand by 7.
Copy and paste a close up of your tube as a new layer.
Arrange so the face is in the frame. Selections-invert- delete. Bring under your frame. Change the blend mode of this tube to Luminance Legacy.
Copy and paste your main tube to the side of the frame.
Resize 80% and copy and paste Doodle flower 2 as a new layer. Move to the right side of your frame.
Duplicate the doodle and mirror.
Resize fans of choice 50% and copy and paste as a new layer.
Use your raster deform tool and rotate them slightly. See my tag for reference.
Resize 80% the flower brad and copy and paste as a new layer.
Put the flower brads on the bottom of the fans.
Resize a bow of choice 80% and copy and paste as a new layer. Move to the top of your frame.
Drop shadow all pieces except the lace. Resize your tag to desired size.
Add your copyright info, watermark and name.
I used the font LainieDaySH for my name and added a medium gradient glow.
Animation:
Copy your tag merged into animation shop and paste as a new animation.
Duplicate your tag once for a total of 2 layers, (the same as the butterfly)
Activate the butterfly, select all, copy- activate your tag, select all-paste into selected frame.Place where you desire.
Run your animation and save as a gif!
I hope you enjoyed my tutorial!
Hugs,
Dee
No comments:
Post a Comment